
Instabridge is our 2-way “bridge” between the Ethereum and Radix networks. Initially built to enable users to swap eXRD to XRD at a 1:1 ratio, if they choose to do so.
Following the initial release, we've been hard at work to build a 2-way wrapping service, which will enable users to wrap ETH, wBTC, USDT & USDC (and more coming) for a wrapped version of the asset on the Radix network at a 1:1 ratio.
Before you can use Instabridge you will first need to create an Instapass account in order to become KYC approved, add your Ethereum and Radix addresses and apply for an AML Tier. Read our full guide on how to create your Intapass account here. Once your Instapass account has been fully verified you will then be able to use Instabridge. For more on managing your addresses, please see our FAQ here.
Step 1: Go to Instabridge and click “Login with Metamask”.
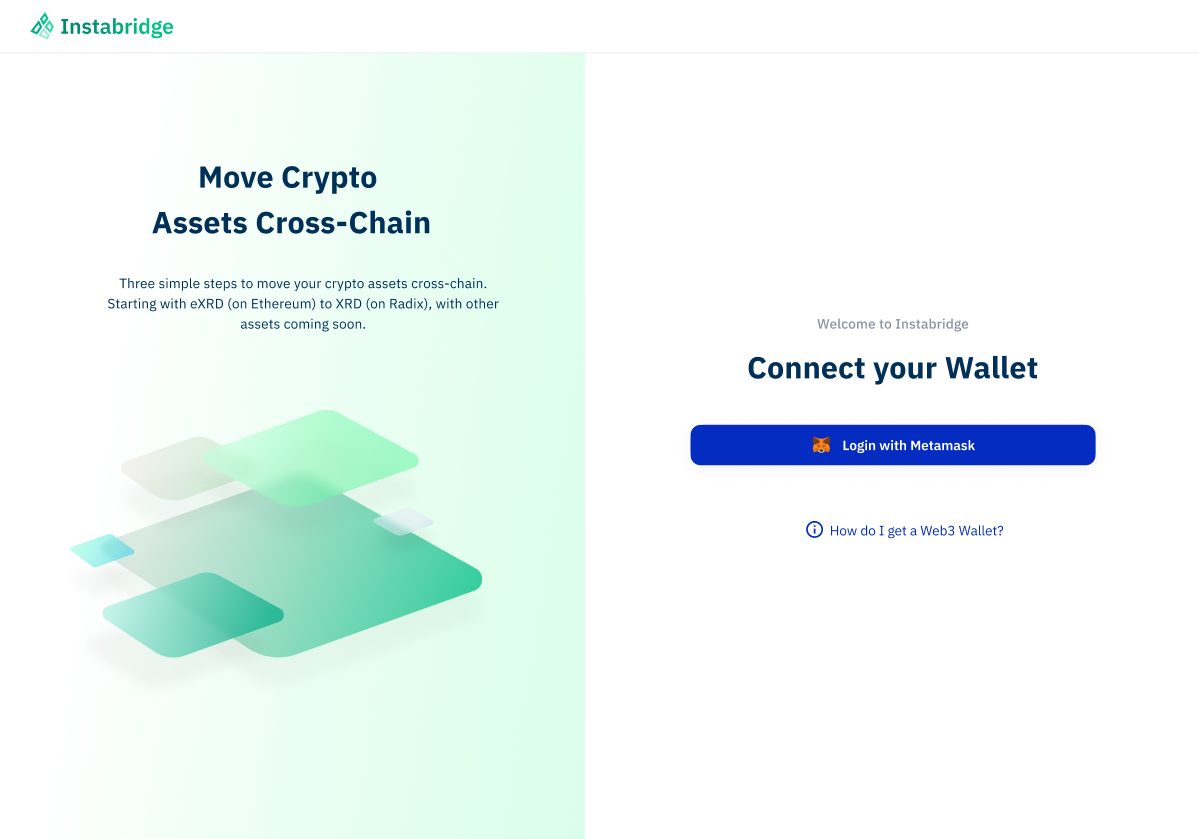
Step 2: Connect your wallet. You will need to connect with the Metamask wallet address that you have added to your Instapass account as default. Clicking “Login with Metamask” should automatically bring up your Metamask browser extension with a transaction to sign.
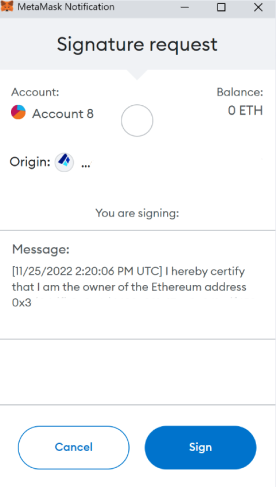
Step 3: Sign the transaction. No funds are transferred during this transaction, it is simply to confirm your ownership of the account to allow you to login. If you haven’t yet connected your Ethereum address to your Instapass account or haven’t completed your KYC, you will be prompted to return to Instapass to enter the required information.
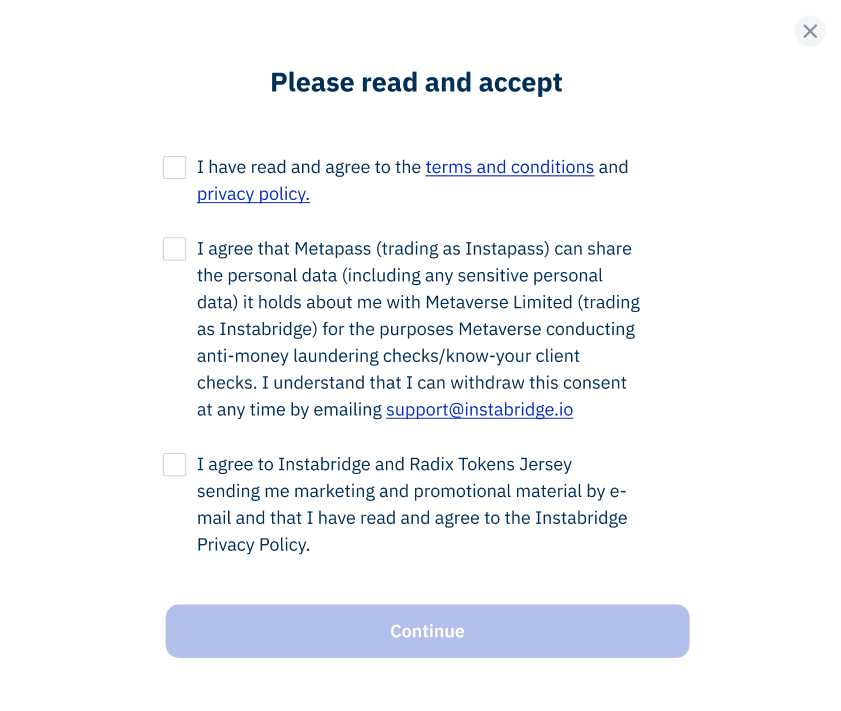
If it is your first time connecting to Instabridge, you will be prompted to read and agree to the terms and conditions as well as consent for Instapass to share your personal data. This is necessary for us to comply with international rules and regulations to make sure your KYC and AML data is up to date.
Step 4: Use Instabridge!
If you have any problems connecting to Instabridge, please contact support@instabridge.io for assistance.
