
New to Instabridge with the launch of Babylon is the ability to wrap and unwrap certain ERC20 and ETH tokens onto the Radix network, in a 1 to 1 ratio (minus any applicable fees). The current list of accepted tokens is available here.
We have kept the process for wrapping/unwrapping as simple as possible, using the same interface for swapping eXRD to XRD. All wrapped assets on the Radix network will be designated with a "x" at the beginning (e.g. xETH)
Step 1: When you are ready, please login to Instabridge using your Ethereum wallet address that you have added to Instapass.
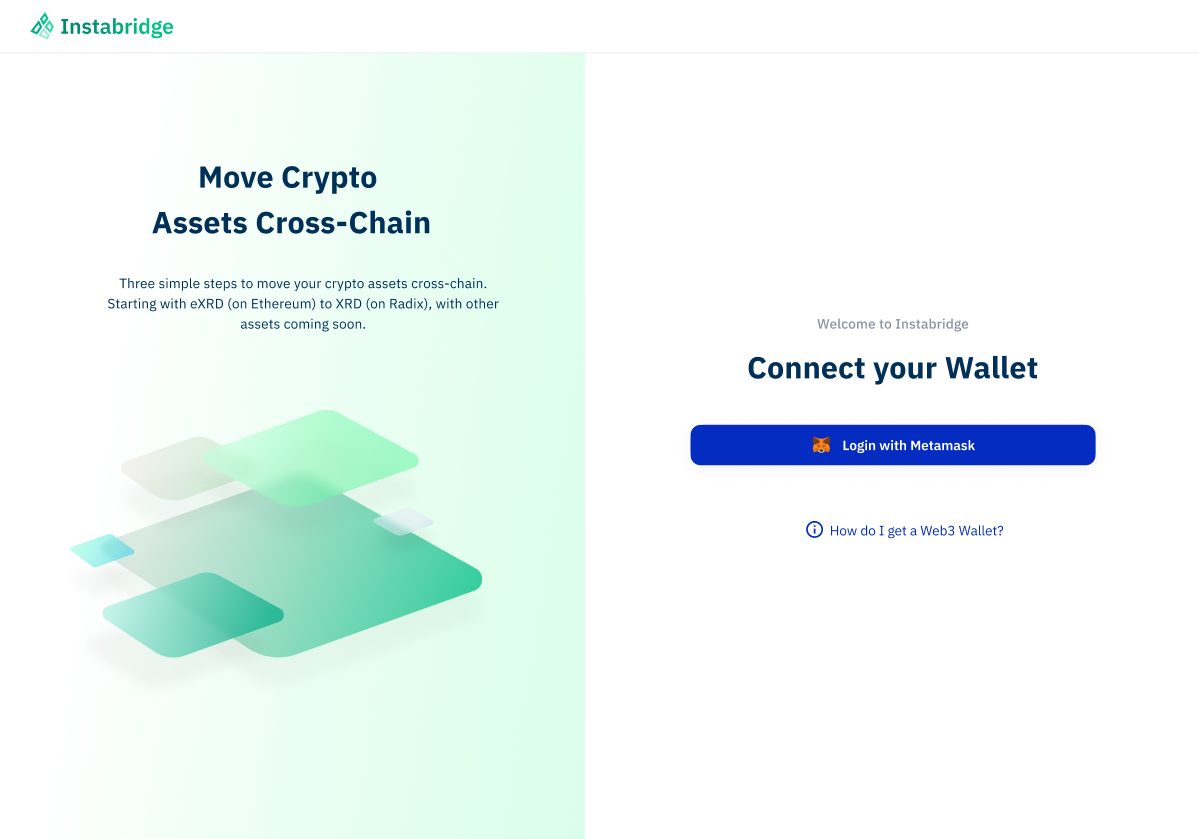
You will need to use the Metamask browser extension to connect. Clicking “Login with Metamask” will automatically bring up your Metamask browser extension with a transaction to sign.
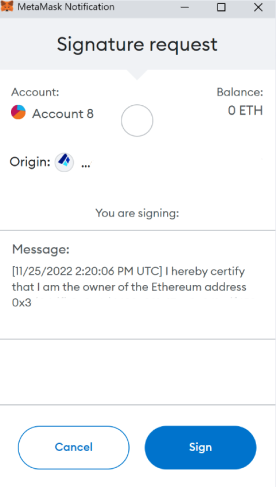
No funds are transferred during this transaction, it is simply to confirm your ownership of the account to allow you to login. If you haven’t yet connected your Ethereum address to your Instapass account or haven’t completed your KYC, you will be prompted to return to Instapass to enter the required information.
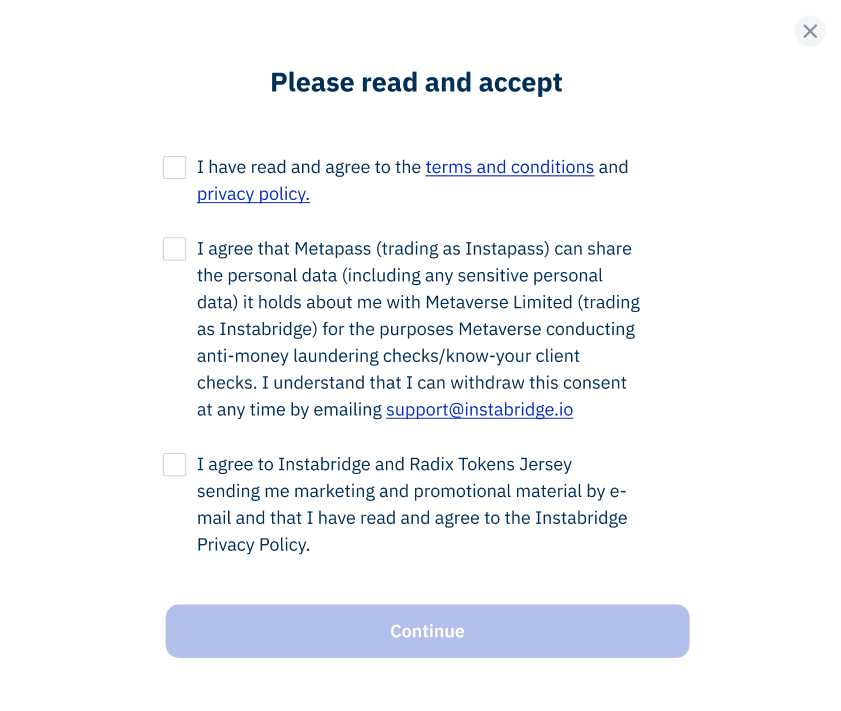
If it is your first time connecting to Instabridge, you will be prompted to read and agree to the terms and conditions as well as consent for Instapass to share your personal data. This is necessary for us to comply with international rules and regulations to make sure your KYC and AML data is up to date.
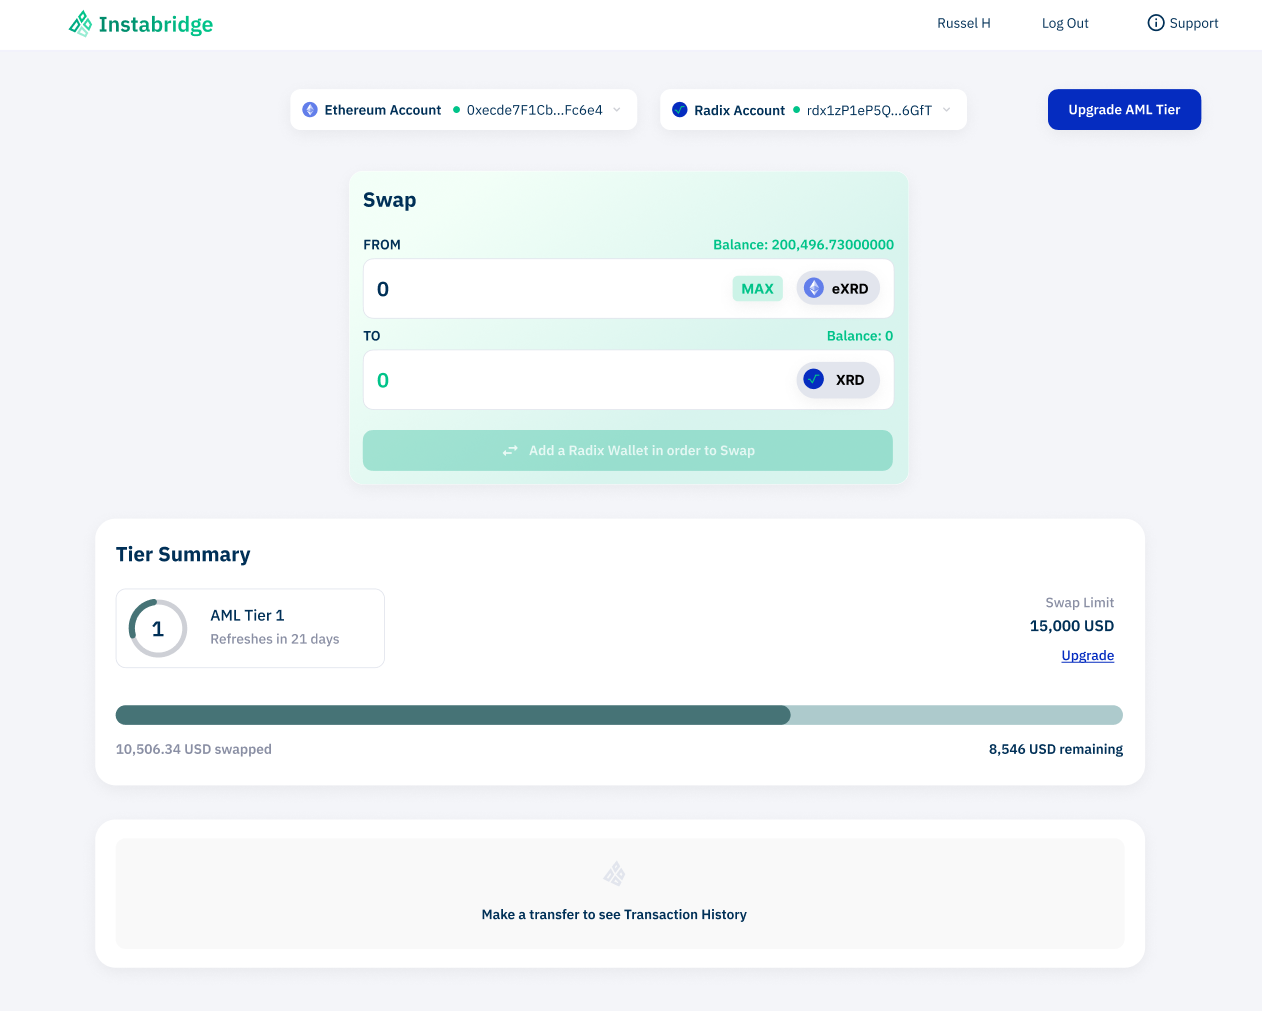
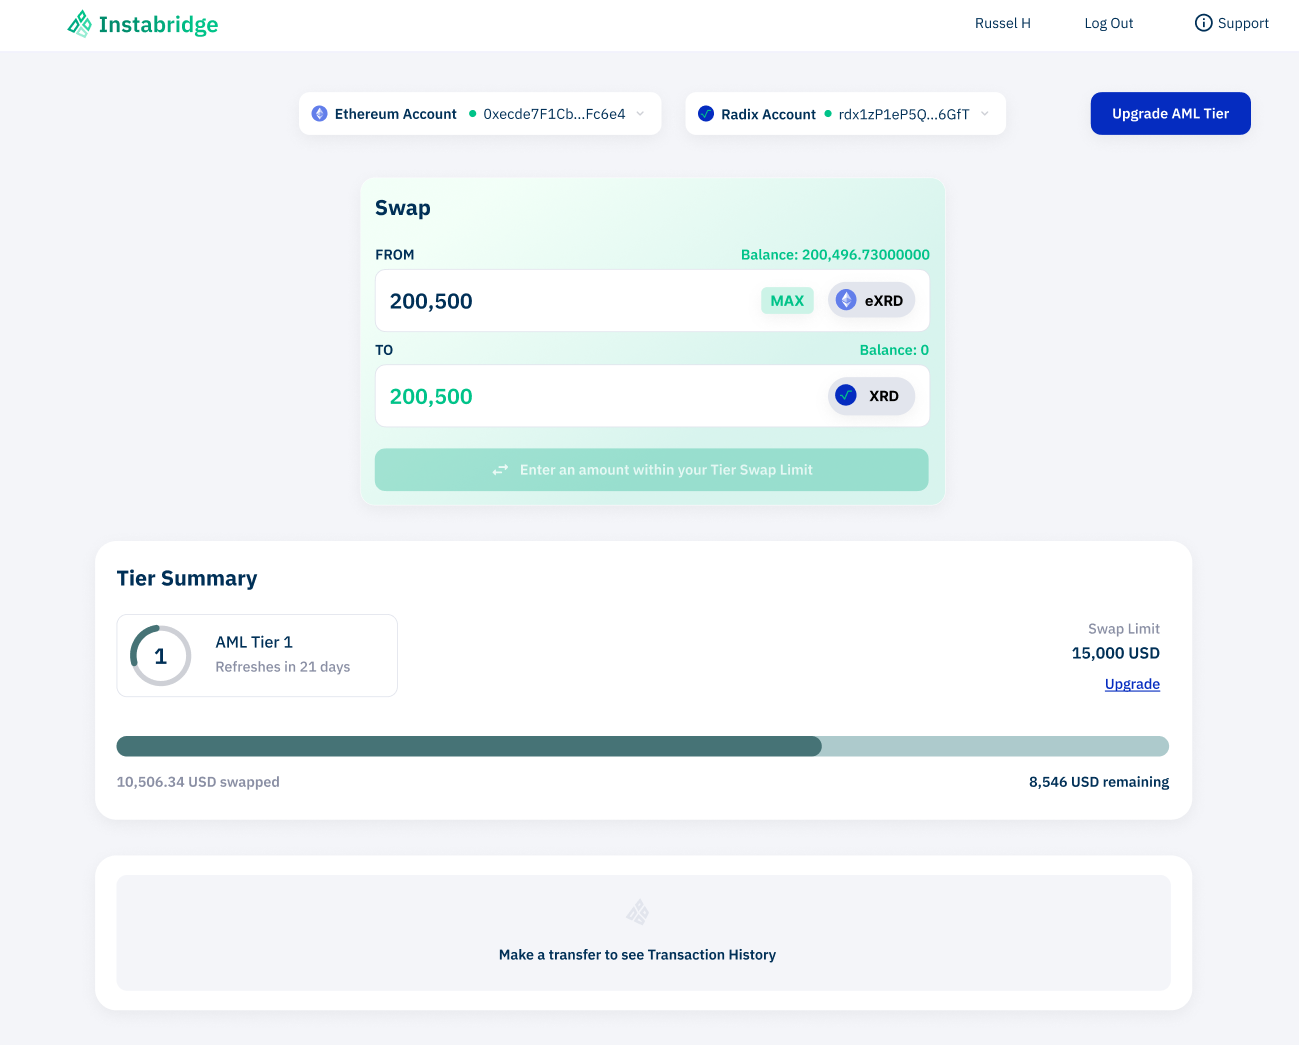
At the top of the page you will see your selected wallets, these will be the wallets you have set to default in Instapass. You can click “Ethereum Account” or “Radix Account” to see your linked accounts and easily go to Instapass if you want to add or remove any accounts.
Step 2: Select the tokens you want to either want to send (eXRD, ETH, wBTC, USDT, USDC) or receive (XRD, xETH, xwBTC, xUSDT, xUSDC) andenter the amount you wish in either the FROM or TO box, as all transactions are done on a 1:1 ratio (minus any applicable fees), the remaining box will auto match. Clicking the “Max” button will convert the maximum amount of your selected token that you have available in your connected Ethereum or Radix accounts.

Step 3: When you are happy with the amount, click “Swap eXRD to XRD now”. This will prompt your Metamask browser extension to open again to confirm the transaction. Check the details match what you expect and click “Confirm”.

Step 3: Depending on the gas price you set it may take a few minutes for your transaction to complete. You will see the transaction appear in your Transaction History showing the status as “In Flight”. Check your destination wallet address to confirm the arrival of your tokens!
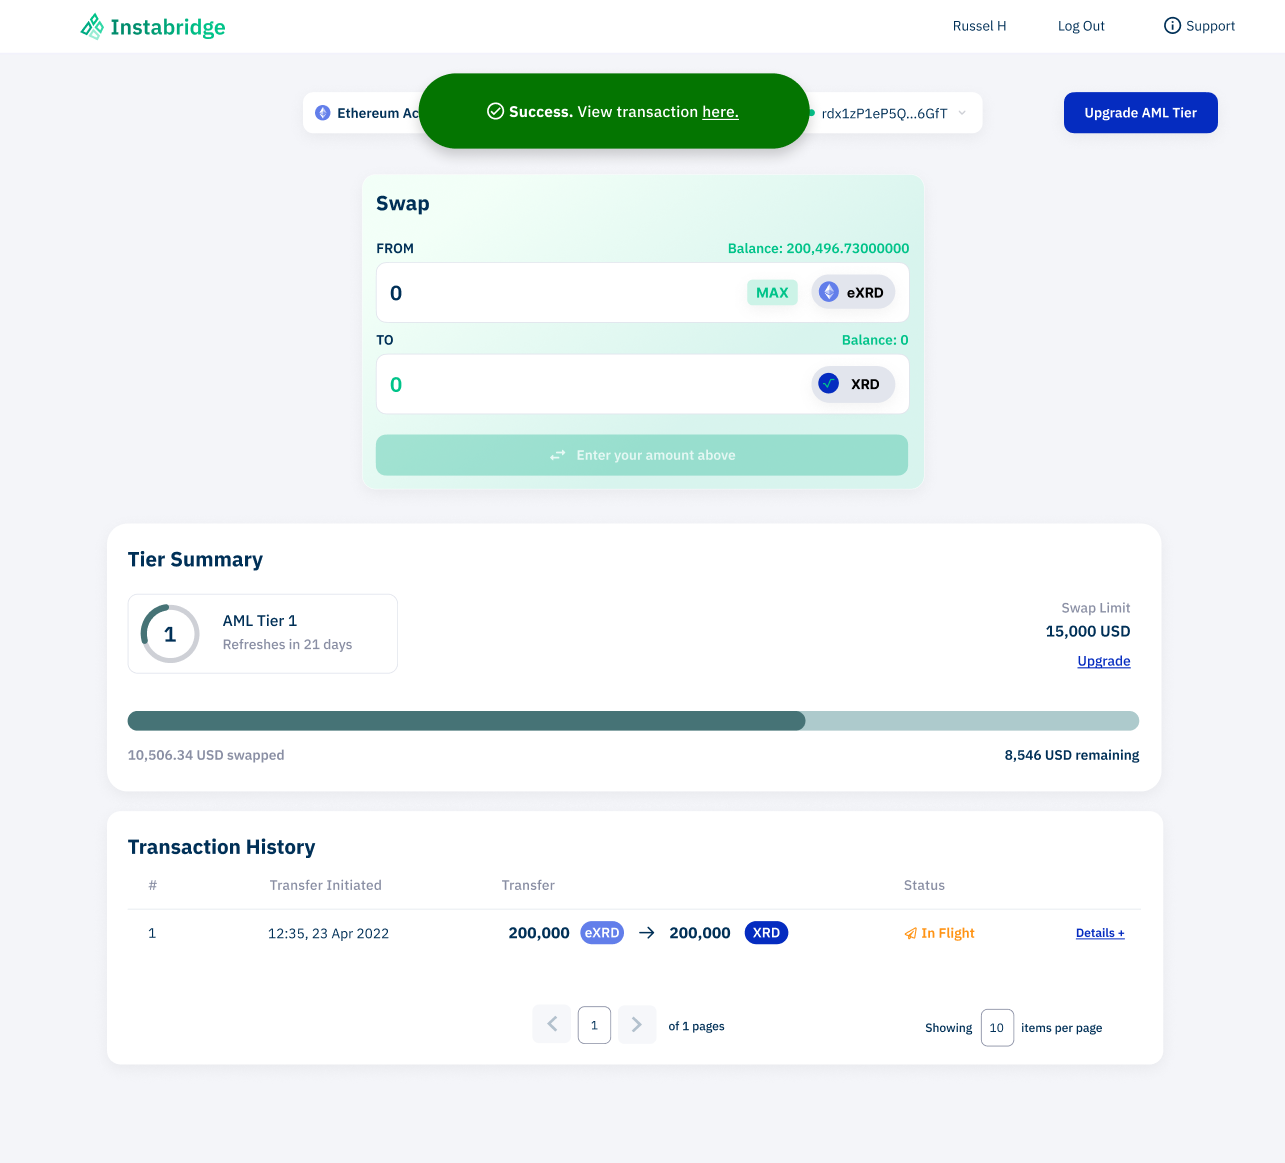
You can check the transaction details by clicking the “Details” button within the Transaction History.
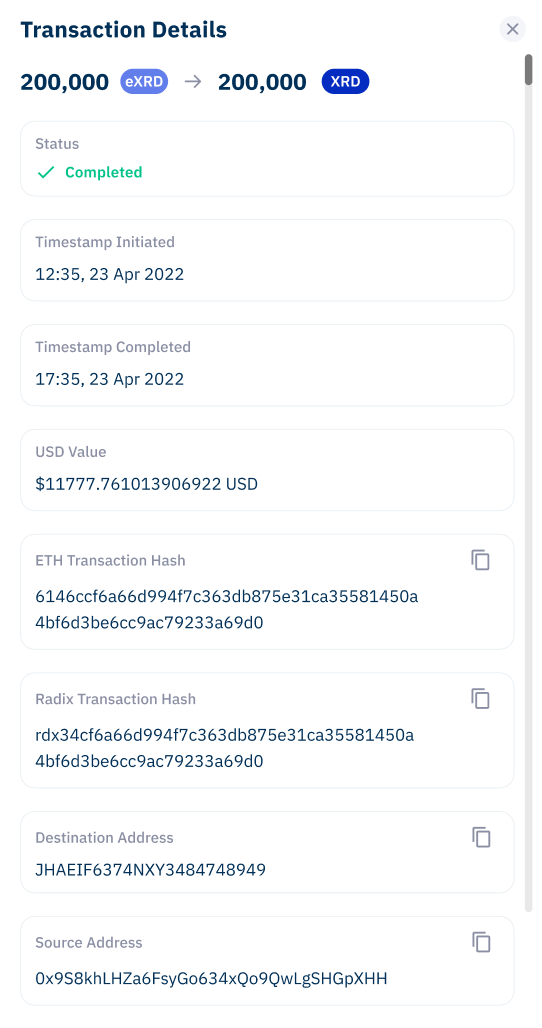
To make life easier, you can copy any of the transaction details by clicking on the copy icon to the right of each box.
If there is a problem with the transaction the status will change to “Problem”. In this case, please contact support@instabridge.io and provide them with your Ethereum Transaction Hash which can be found in the transaction details section.
Step 4: You can performing more swapping or wrapping whenever you want, but if a swap is going to exceed your AML Tier Swap Limit, you will be prevented from submitting the transaction. Click “Upgrade AML Tier” in the top right, or “Upgrade” under your Swap Limit to go back to Instapass where you can apply for an AML Tier Upgrade. You can see the full guide on how to upgrade your AML Tier through Instapass here.
Once your AML Tier Upgrade has been approved in Instapass you will see the Swap Limit increase in Instabridge and you will be able to complete transactions up to your new limit.
